|
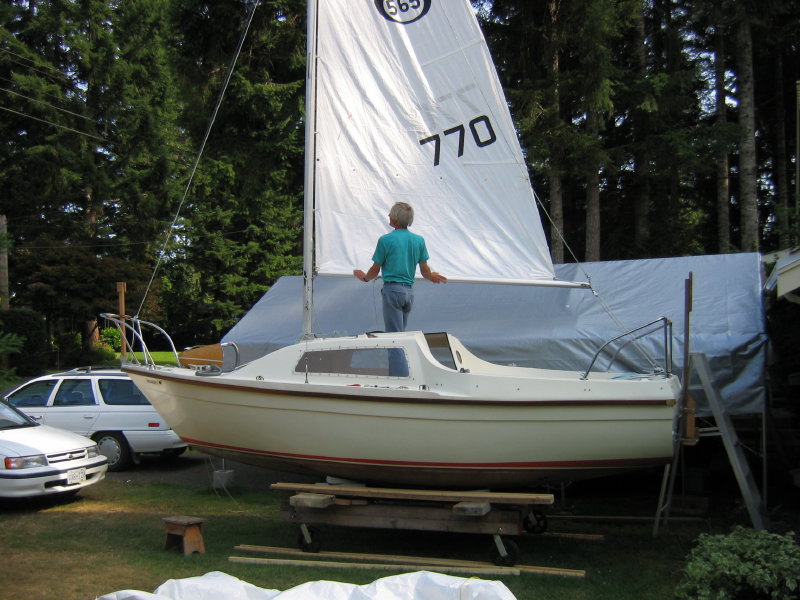
Photos: Submitted by David Smith, Hull # 770, click
on any Pictures to Enlarge.
Here are David's pictures of his Sandpiper modifications:
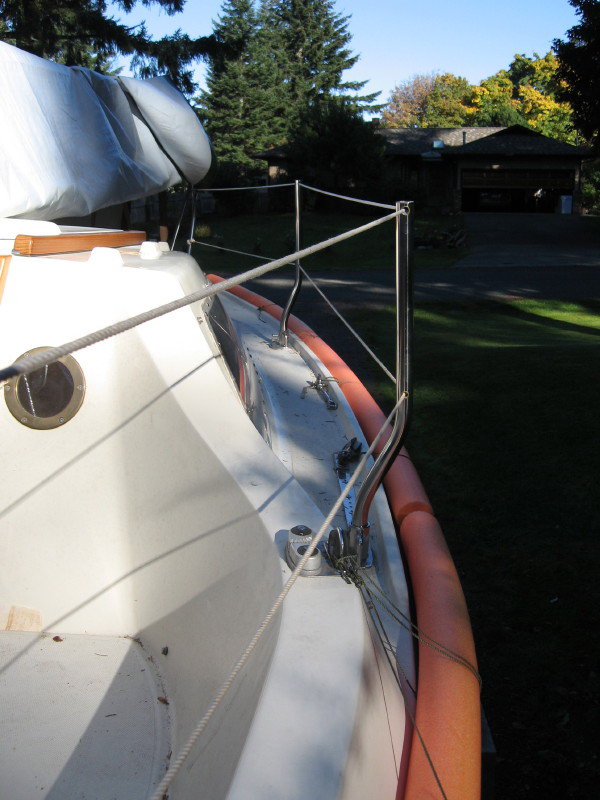
In my refit, I've added lifelines. I noticed on other Sandpipers that the lifelines restricted
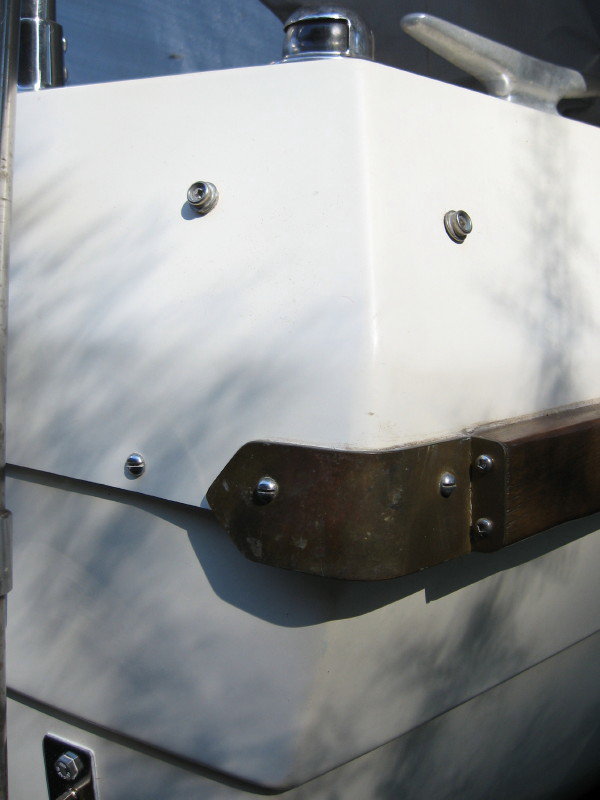
foot room on the side decks, so I'm experimenting with stanchions that I had curved outwards. I made up a jig and went to a local hydraulics place and they did the bending. The stanchions and lines are still inboard of the hull rub rails. the stanchions are through-bolted in the
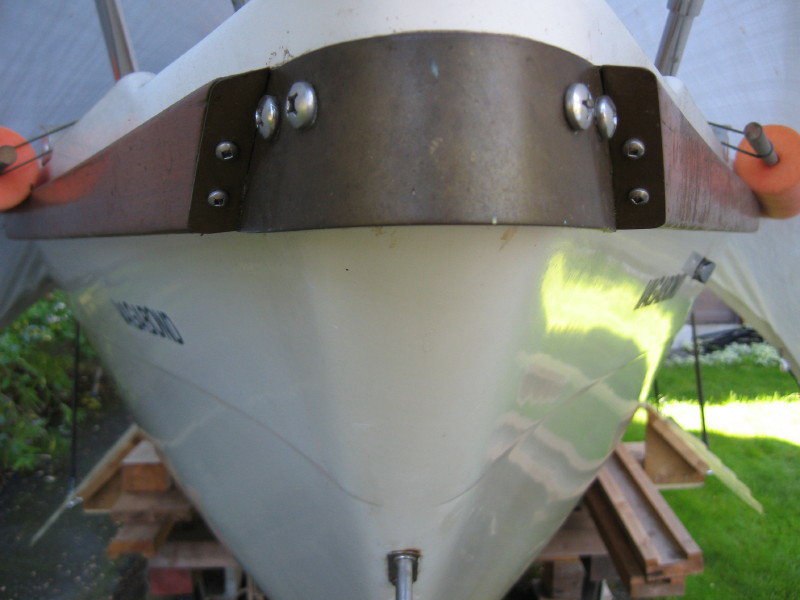
stanchion sockets. I also added brass protective plates to the bow and at the stern (they also make
the rails look more "finished"). I made jigs for these and bent them to match. These are through-bolted. Under the
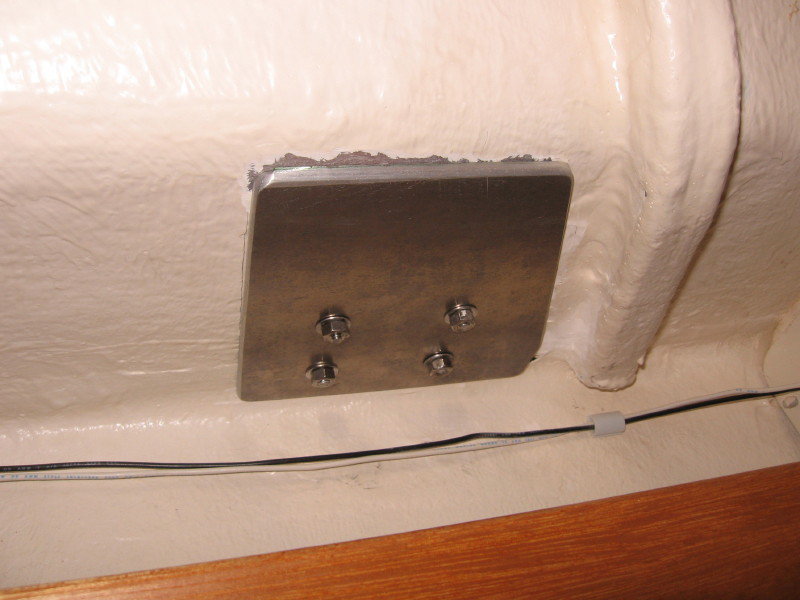
deck, I added large 3/16"backing plates to give the stanchions lots of support. I added neoprene caps to the
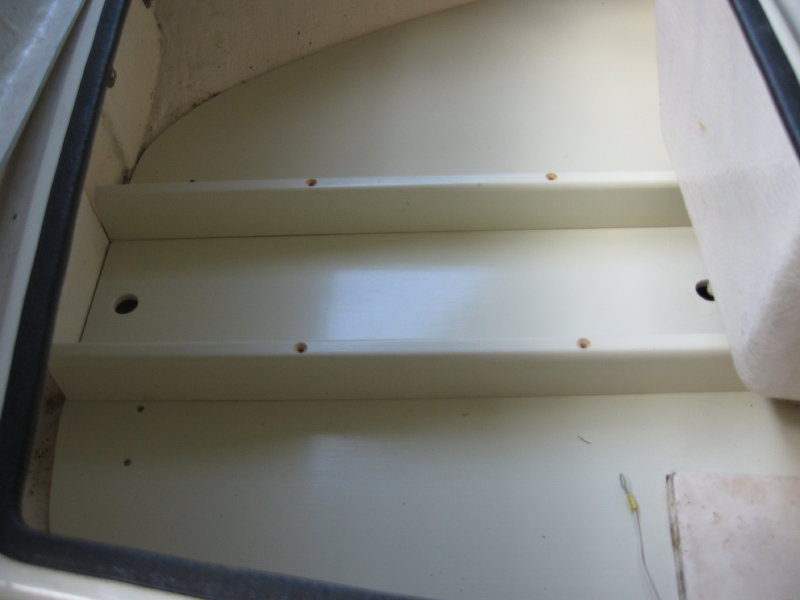
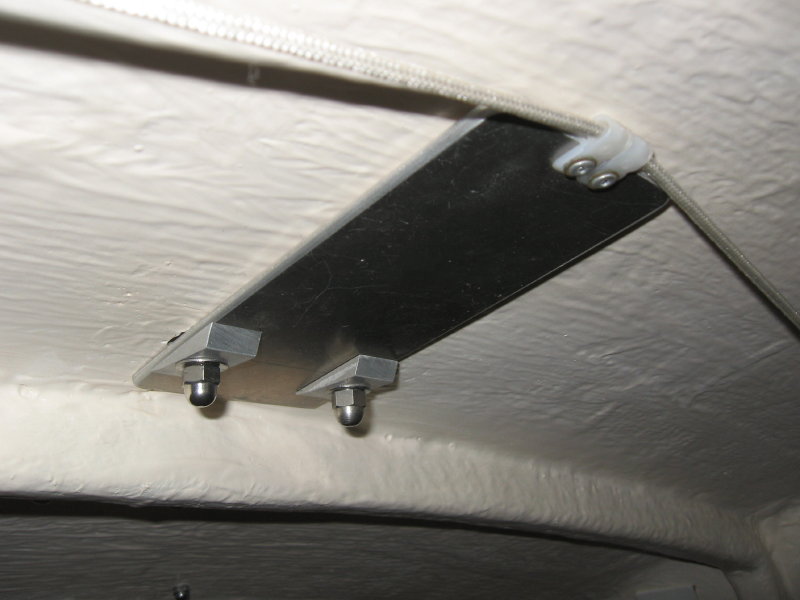
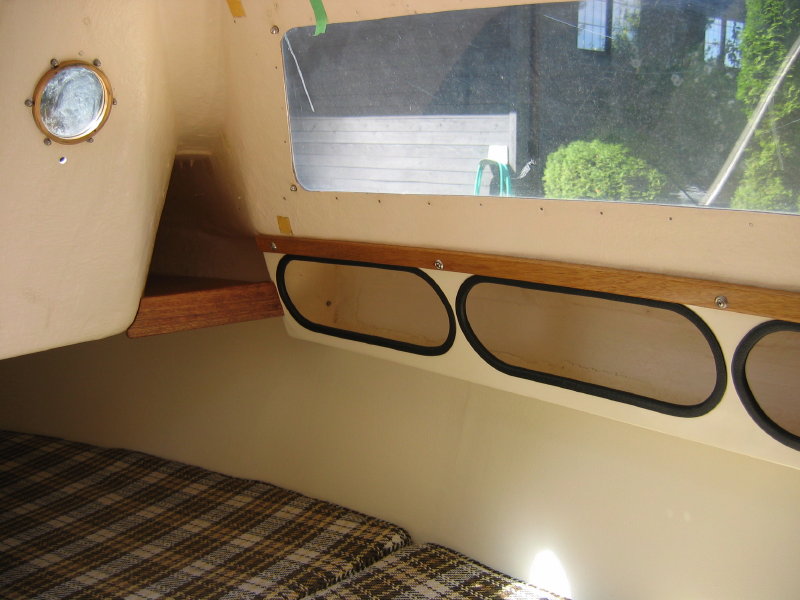
fore hatch latch threads as I scratched myself on them a number of times. I made up small shelves at the aft end of the cabin and under the cockpit coaming. I also put two small
port lights in the aft end of the cabin. All zinc rail fittings I replaced with stainless and set
screws were replaced with 1-inch fine-thread machine screws. The
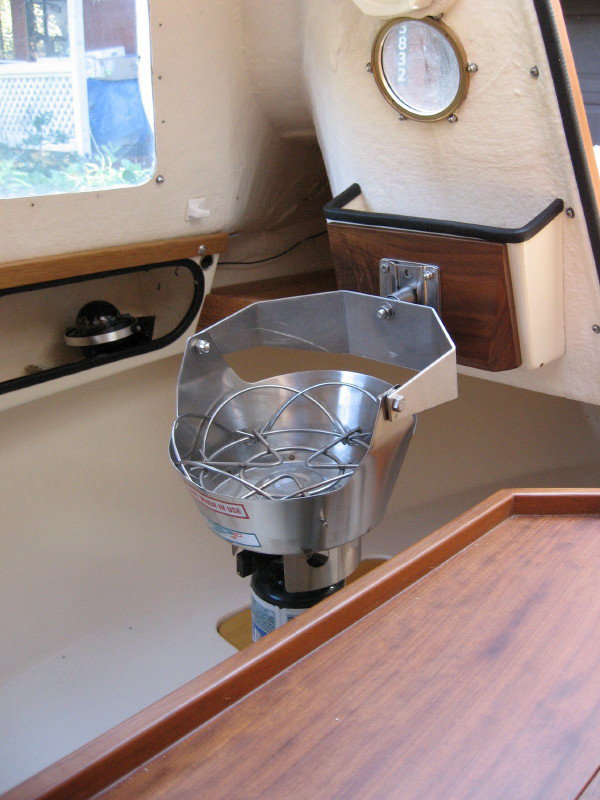
stove is a Seacook by Force 10; (built in Richmond, BC).
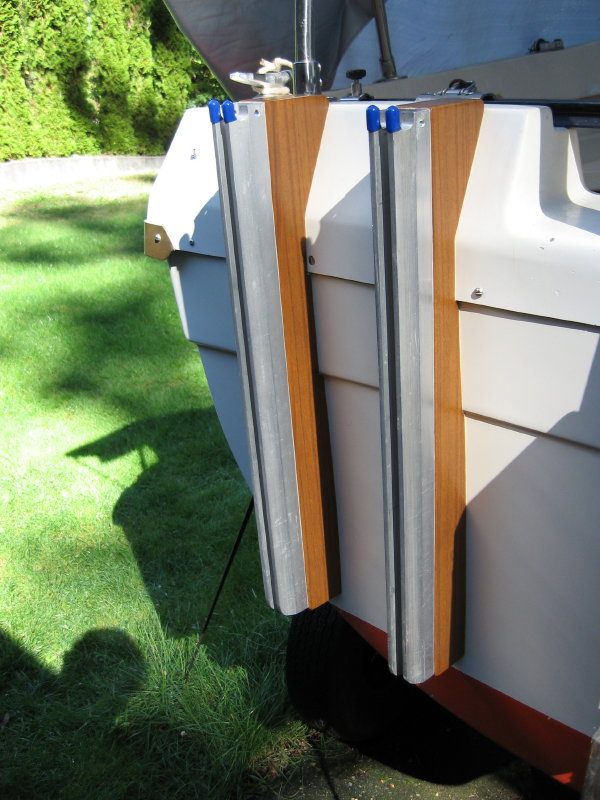
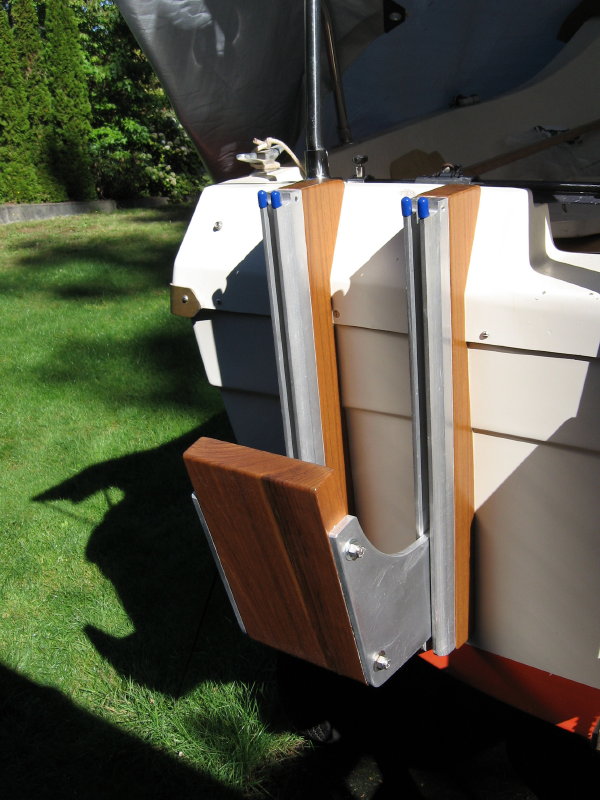
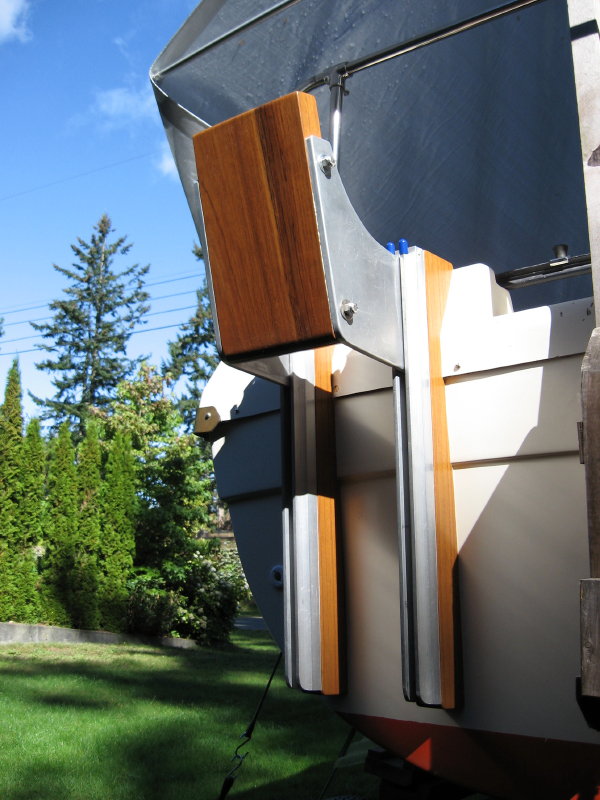
Here are some pictures of my new sliding bracket. It's very strong, keeps the motor close to the hull, and allows more vertical lift. It also allows the motor to be lifted clear of the water without tilting. A triple block lifting line attached to the pulpit allows for any height adjustment. The down side is a lot of fiddly cutting to get the wood rails to match the shape of the hull.
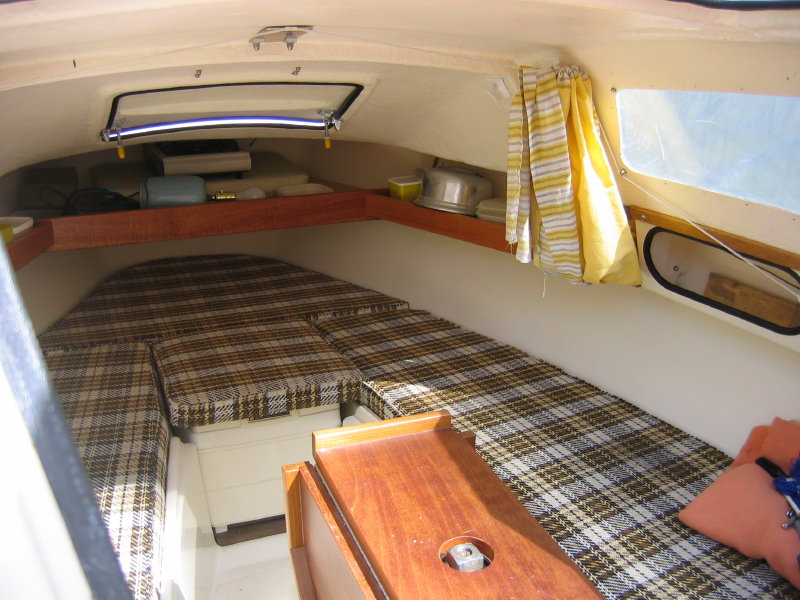
Other interior modifications included adding shelves
in the forward part of the cabin. These attach to the existing fiberglass
lockers and to the forward bulkhead. Two brass strap hangers (sharing
bolts for deck fittings) help hold the shelves in place. Using the mast
step bolts, I added an aluminum plate to secure a curtain line so the toilet can
be used with a degree of privacy.
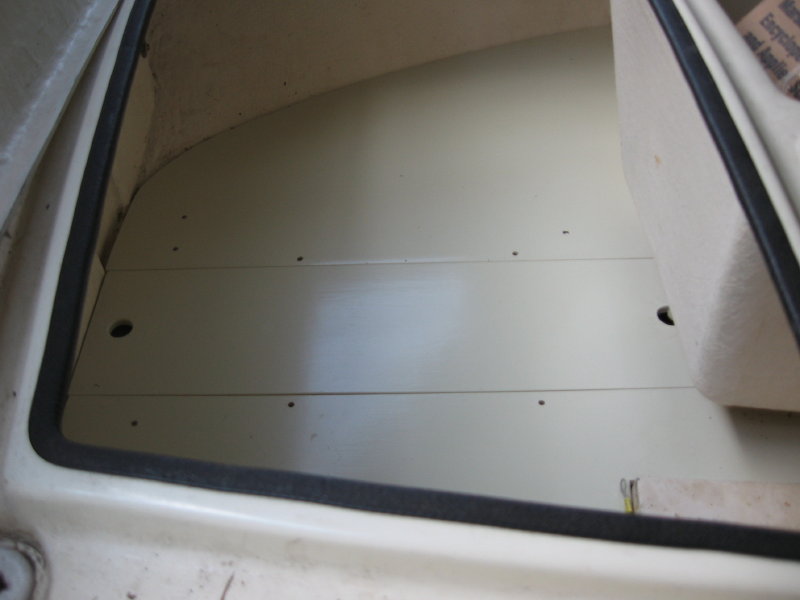
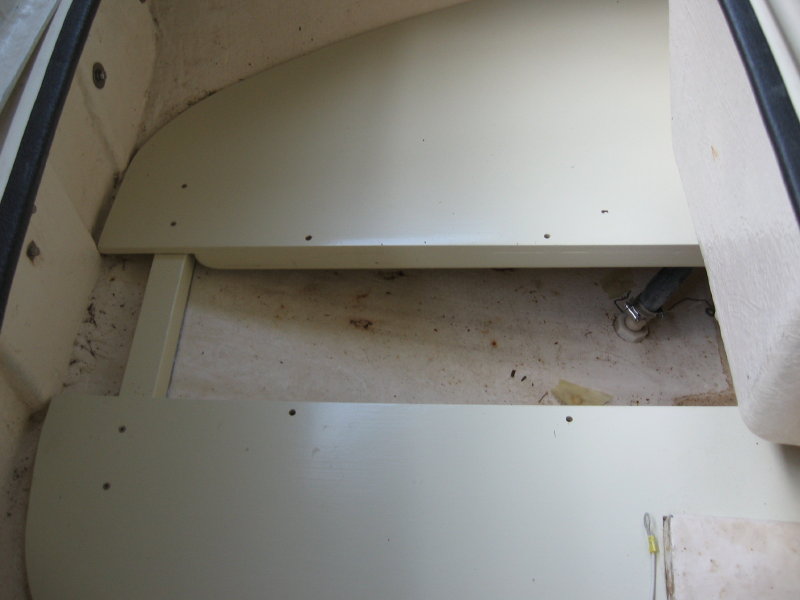
Here are more photos of my ongoing refit. In the lazarette or stern locker, I have made a three-piece plywood platform with a lift-out center section. There are two, three-inch high "fences" that can be dropped into
position and held by a pair of "pins" (long 1/4 "machine screws). With the fences in position, gas cans and equipment do not slide around when the boat heels. The center piece is reinforced so I can stand on it with no distortion. The most difficult part of this job was making the templates and cutting the right angles and curves to the support members resting against the hull.
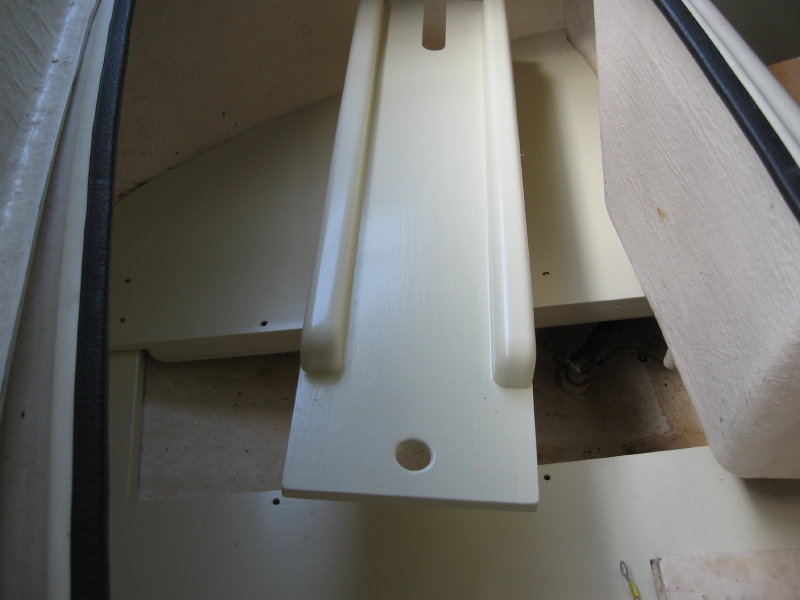
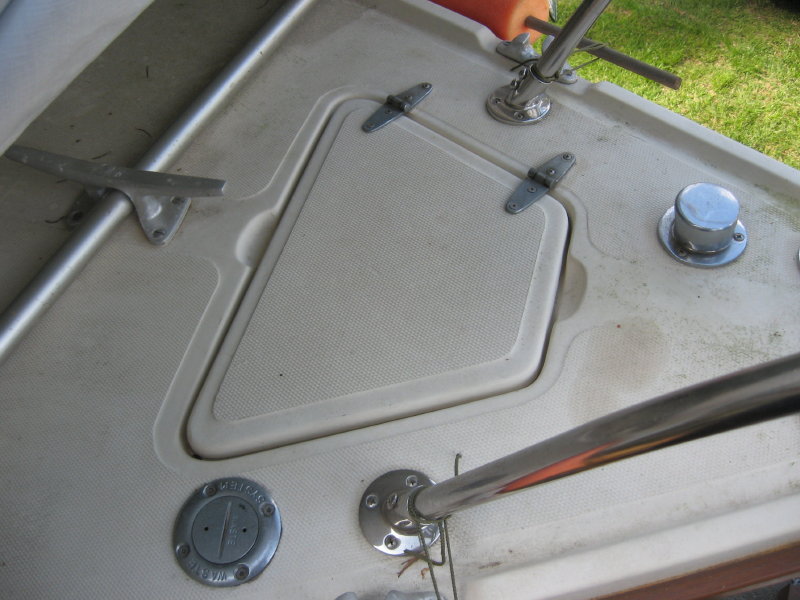
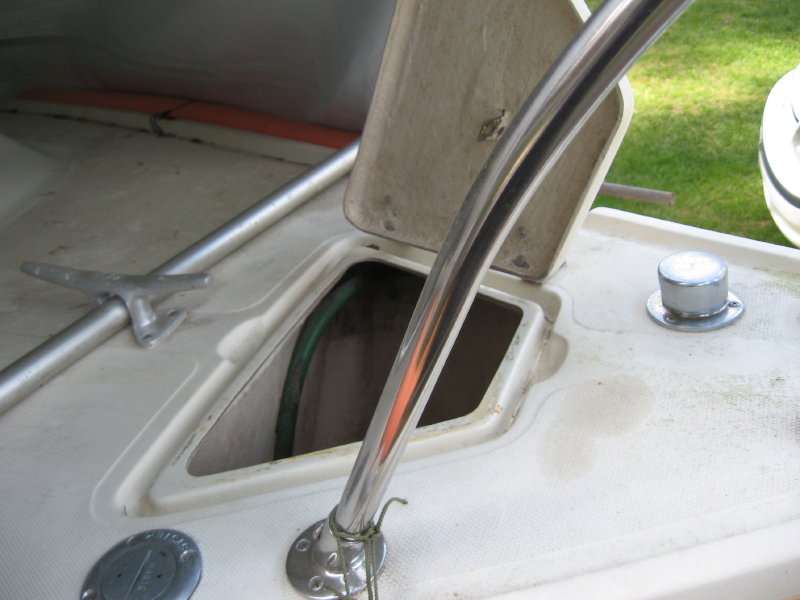
Another change is to put hinges on the anchor locker cover and add a hawse pipe or chain pipe. One of my reasons was to reduce chance of losing the cover and to avoid having a loose cover possibly getting in the way. I added a chain shelf under the pipe where I keep a length of spare chain. The anchor, rope, and short chain go in the main part of the compartment. To hinge the cover I had to trim about 1/4 " off the edge to allow it to swing freely without binding with the lip of the hole. I
replaced the original heavy 3/4 inch plywood inside locker covers with lighter
1/2 inch ones that were cut more accurately. I added closed-cell weather strip
to the locker recesses so the wood covers wouldn't slide around as much. The
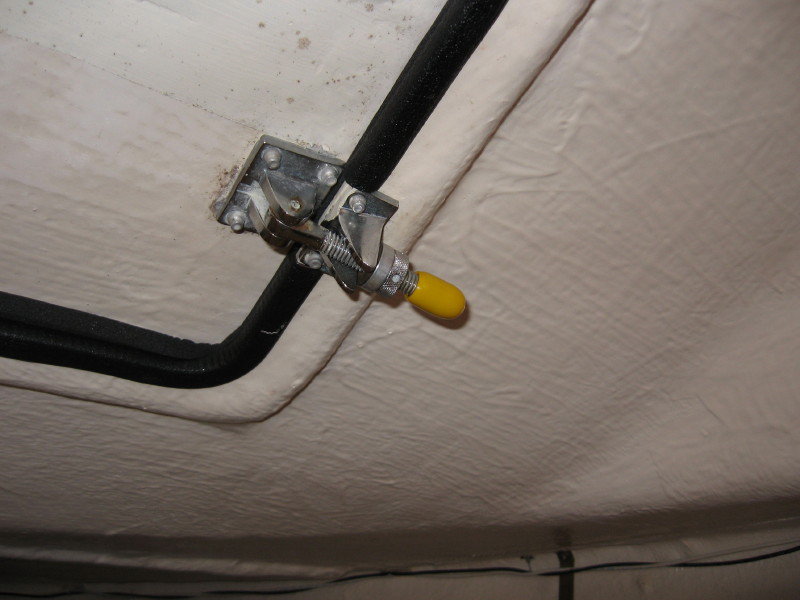
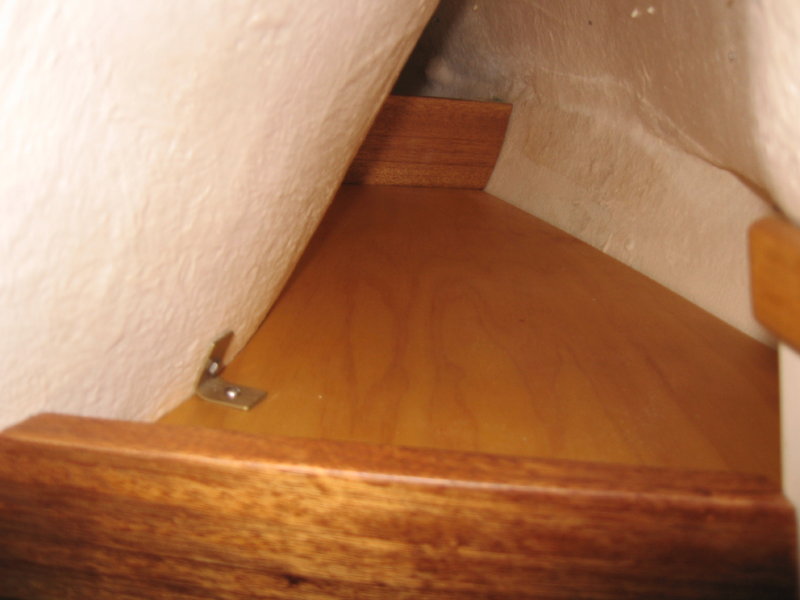
ceiling fitting holds the curtain line. I had to make two aluminum wedges to
maintain the bolt alignment.
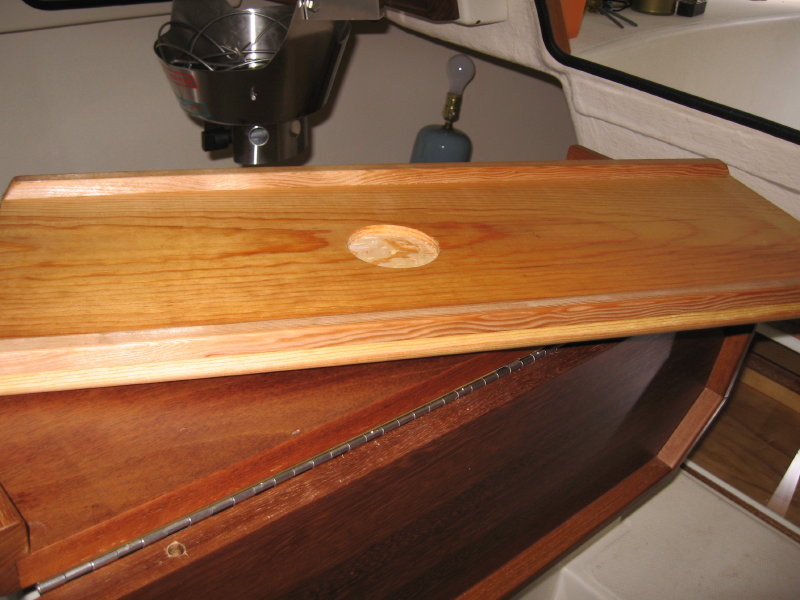
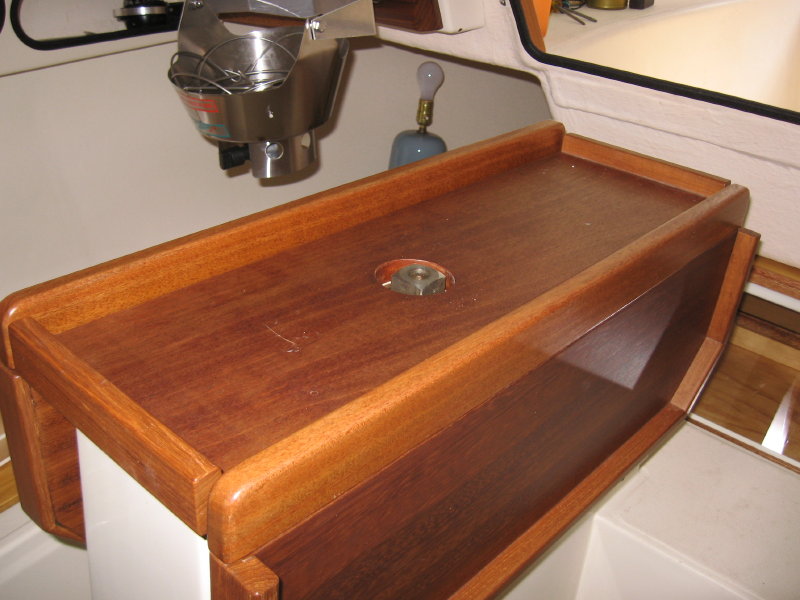
The cabin table has also been modified with much stronger supports fitted underneath and a teak rail added on all sides. When the table leaves are in the down position, I have two removable fences that can be dropped in place so things can be placed on the the center part of the table and they won't slide off. I also made an sacrificial wood cover to put over the table when I'm working and tools and equipment are in use.
It also has rounded edges that are easier on me if I should I bump against it. I
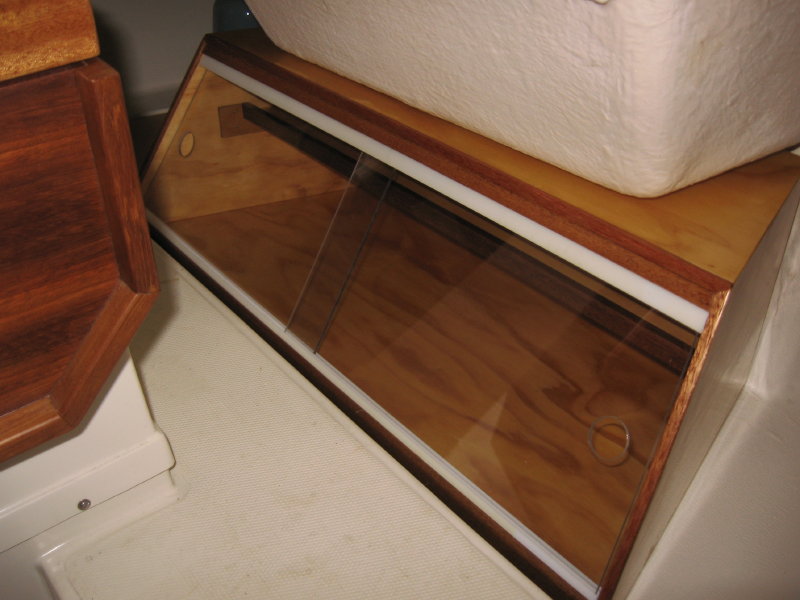
made a locker to go under the companionway. It has sliding lexan doors and a
small shelf (barely visible in picture). It was a fiddly job of odd angles, etc
but it should be useful. I thought of putting a small galley unit here (as in
the Sailfish 18), but the different design of the Sandpiper didn't allow enough
height.
The little shelves under the cockpit coaming are fastened
through the ends of the fiberglass lockers, and to pieces of mahogany glassed to
the hull further aft. Also two of the cockpit cushion snaps were modified with
screws that attached the brass brackets shown in picture. Taking the time to
make a tight-fitting template was the most tedious part of the job.
|